QGIS Configuration
QGIS is highly configurable through the Settings menu. Choose between Project Properties, Options and Customization.
Note
QGIS follows desktop guidelines for the location of options and project properties item. Consequently related to the OS you are using, location of some of items described below could be in the Project or the Settings menu.
Project Properties
In the properties window for the project under  Settings ‣ Project Properties (kde) or

 Project ‣ Project Properties (Gnome, OS X or Windows), you
can set project-specific options.
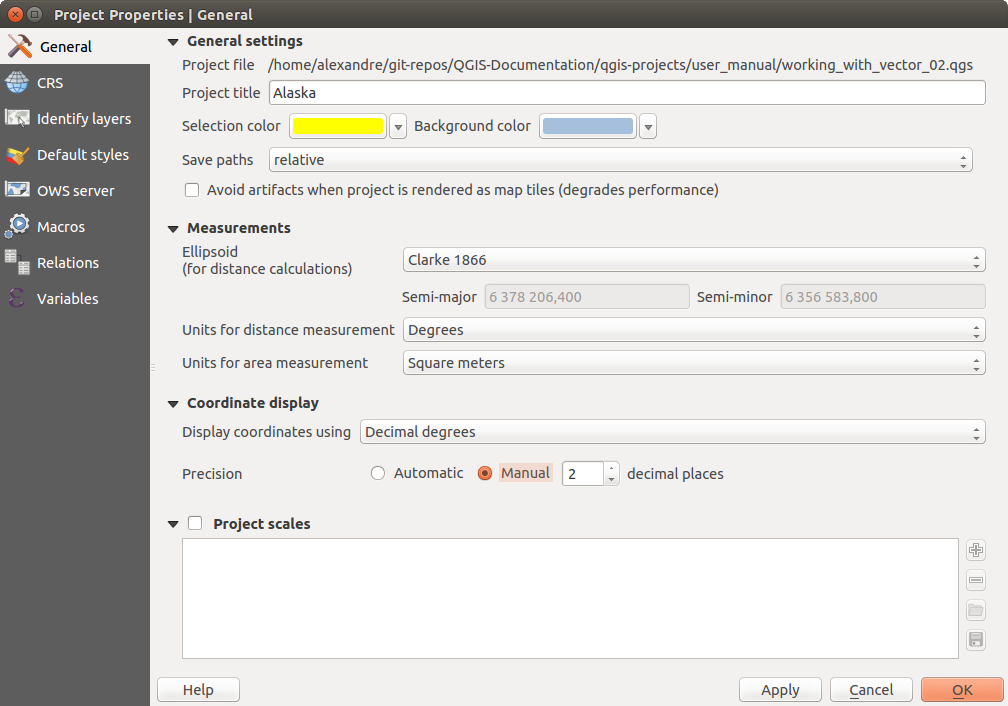
In the General menu, the general settings let you:
- give a title to the project beside the project file path
- choose the color to use for features when they are selected
- choose the background color: the color to use for the map canvas
- set whether the path to layers in the project should be saved as absolute (full) or as relative to the project file location. You may prefer relative path when both layers and project files can be moved or shared or if the project is accessed from computers on different platforms.
- choose to avoid artifacts when project is rendered as map tiles. Note that checking this option can lead to performance degradation.
Calculating areas and distances is a common need in GIS. However, these values are really tied to the underlying projection settings. The Measurements frame lets you control these parameters. You can indeed choose:
- the ellipsoid to use: it can be an existing one, a custom one (you’ll need to set values of the semi-major and semi-minor axis) or None/Planimetric.
- the units for distance measurements for length and perimeter and
the units for area measurements. These settings, which default
to the units set in QGIS options but then overrides it for the current project,
are used in:
- Attribute table field update bar
- Field calculator calculations
- Identify tool derived length, perimeter and area values
- Default unit shown in measure dialog
The Coordinate display allows you to choose and customize the format of units to use to display the mouse coordinate in the status bar and the derived coordinates shown via the identify tool.
Finally, you can define a project scale list, which overrides the global predefined scales.

General tab of Project Properties dialog
- The CRS menu enables you to choose the Coordinate Reference System for this project, and to enable on-the-fly re-projection of raster and vector layers when displaying layers from a different CRS.
- With the Identify layers menu, you set (or disable) which layers will respond to the identify tool. By default, layers are set queryable.
- The Default Styles menu lets you control how new layers will be drawn when they do not have an existing .qml style defined. You can also set the default transparency level for new layers and whether symbols should have random colors assigned to them. There is also an additional section where you can define specific colors for the running project. You can find the added colors in the drop down menu of the color dialog window present in each renderer.
- The tab OWS Server allows you to define information about the QGIS Server WMS and WFS capabilities, extent and CRS restrictions.
- The Macros menu is used to edit Python macros for projects. Currently, only three macros are available: openProject(), saveProject() and closeProject().

Macro settings in QGIS
- The Relations menu is used to define 1:n relations. The relations are defined in the project properties dialog. Once relations exist for a layer, a new user interface element in the form view (e.g. when identifying a feature and opening its form) will list the related entities. This provides a powerful way to express e.g. the inspection history on a length of pipeline or road segment. You can find out more about 1:n relations support in Section Creating one to many relations.
Options
 Some basic options for QGIS can be selected using the
Options dialog. Select the menu option Settings ‣
 Options. The tabs where you can customize your
options are described below.
Authentication
In the Authentication tab you can set authentication configurations and manage PKI certificates. See Authentication System for more details.
Customization
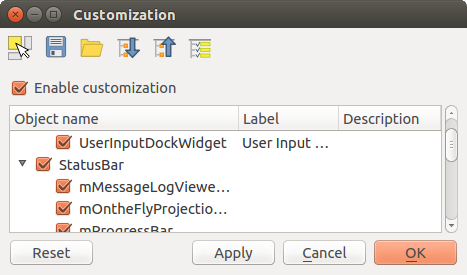
The customization dialog lets you (de)activate almost every element in the QGIS user interface. This can be very useful if you want to provide your end-users with a ‘light’ version of QGIS, containing only the icons, menus or panels they need.
Note
Before your changes are applied, you need to restart QGIS.
Figure Customization 1:

The Customization dialog
Ticking the  Enable customization checkbox is the first step
on the way to QGIS customization. This enables the toolbar and the widget
panel from which you can uncheck and thus disable some GUI items.
The configurable item can be:
- a Menu or some of its sub-menus from the Menu Bar
- a whole Panel (see Panels and Toolbars)
- the Status bar described in Status Bar or some of its items
- a Toolbar: the whole bar or some of its icons
- or any widget from any dialog in QGIS: label, button, combobox...
With  Switch to catching widgets in main application, you
can click on an item in QGIS interface that you want to be hidden and
QGIS automatically unchecks the corresponding entry in the Customization dialog.
Once you setup your configuration, click [Apply] or [Ok] to validate your changes. This configuration becomes the one used by default by QGIS at the next startup.
The modifications can also be saved in a .ini file using  Save To File button. This is a handy way to share a common QGIS
interface among multiple users. Just click on
  Load from File
from the destination computer in order to import the .ini file.
You can also run command line tools and save various
setups for different use cases as well.
Tip
Easily restore predefined QGIS
The initial QGIS GUI configuration can be restored by one of the methods below:
- unchecking
 Enable customization option in the
Customization dialog or click the
  Check All button
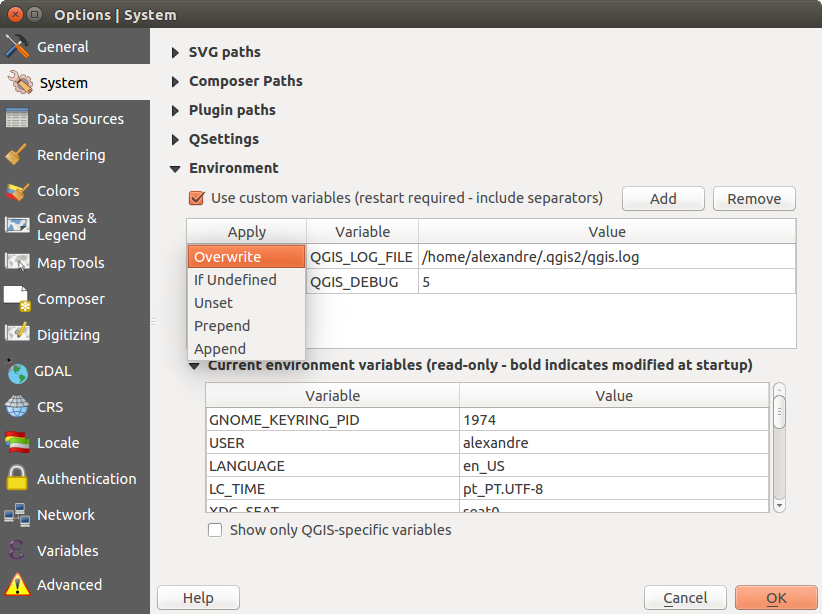
 - pressing the [Reset] button in the QSettings frame under Settings ‣ Options menu, System tab
- launching QGIS at a command prompt with the following command line qgis --nocustomization
- setting to false the value of UI ‣ Customization ‣ Enabled variable under Settings ‣ Options menu, Advanced tab.
In most cases, you need to restart QGIS in order to have the change applied.

 Qt default and a user-defined font.


 Don’t enable ‘on the fly’ reprojection